Today, we’re going to tackle step two of the kitchen overhaul. If you missed the first post in this series, start with 3 Simple Steps to An Organized Kitchen.
By this stage, you should be armed with a plan of attack and some handy organizers. The boring prep work is done. Now, it’s time to sort and declutter!!!
Step 2: Purge and repeat.
Start by emptying all of your cabinets and drawers. Yes…every. last .one. Unlike the master bedroom closet, this project is best done in one fell swoop. If you’re worried about being interrupted midway, use bins while you sort. Each container should represent one category (e.g. cutlery, baking sheets, kids’ dishes, etc.). If you have to pause, simply move the bins to the dining room table or some other out-of-the-way location until you can resume the job.
As you clear everything, keep a keen eye out for anything you can get rid of:

If you’re still having trouble parting with things, then check out The First Secret to Organizing Success.
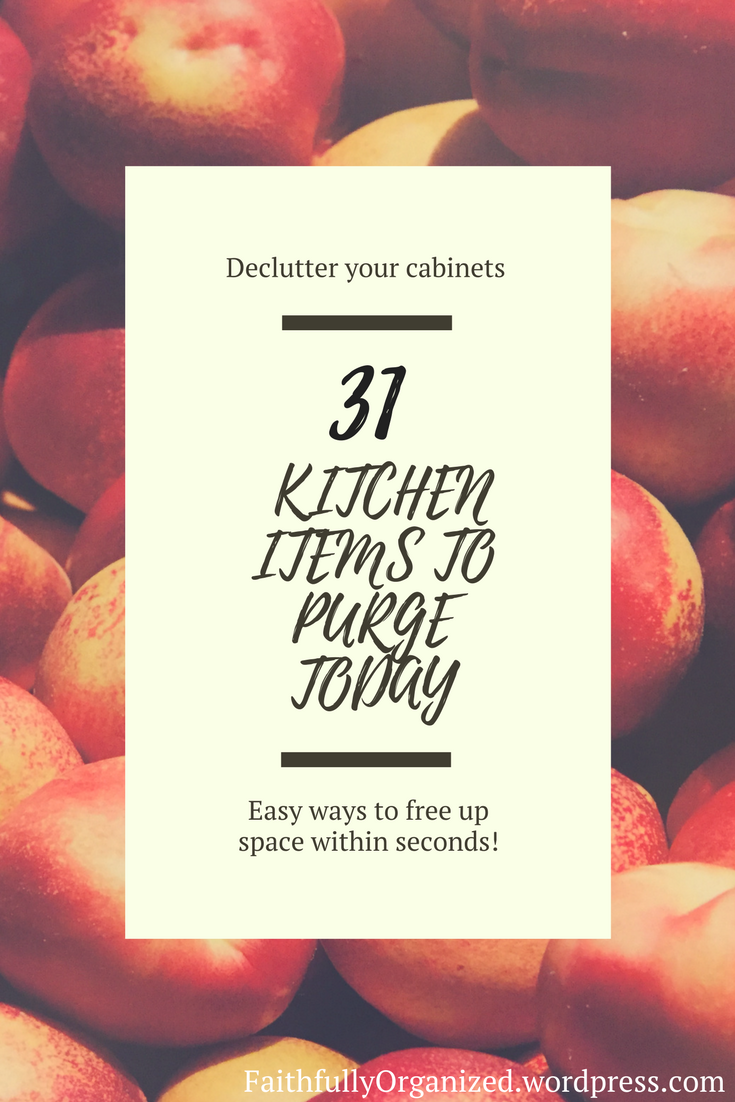
For even more help, I’ve compiled a list of 31 specific items that you can get rid of right now:
- Expired spices
- Expired medicines/vitamins
- Cookbooks you never use
- Junk mail
- Excess water bottles (Save one for each family member, plus one or two extras.)
- Unneeded takeout menus
- Chipped/damaged dishes
- Appliances with missing parts
- Stained Tupperware
- Tupperware lids and containers without mates
- Appliance manuals (You can view them online if needed.)
- Excess plastic cups (You know, those freebies that collect over time…)
- Restaurant condiments
- Fancy, one-purpose kitchen gadgets that you’ve used less than four times in the past year
- Duplicate cooking utensils
- Spare kitchen knives (Did you know most professional chefs use only three to five?!)
- Reusable shopping bags (if you own more than ten) Extra tip: Get the bags out of your kitchen by storing them in your car’s trunk.
- Outdated papers and unnecessary clutter on the outside of your refrigerator
- Month-old or older magazine recipes you’re saving for “one day”
- Ugly dishes
- Unused novelty mugs (Most people don’t need more than six.)
- Dingy dish towels
- Sippy cups, plastic dishes, and cutlery your children have outgrown
- Duplicate measuring cups and spoons
- Neglected serving dishes
- Unused baking supplies (cupcake toppers, muffin liners, etc.)
- Scratched nonstick pots and pans
- Warped or cracked wooden spoons
- Gross sink sponges
- Plastic cutting boards that are older than two years
- Koozies (Come on, how often do you really use these?)
This list just happens to end at 31, which is a nice tie in to the Proverbs 31 woman…
The book of Proverbs concludes with a comprehensive picture of a woman who fears the Lord. Bear in mind that the Proverbs 31 woman is an archetype, a model, an ideal. Don’t be discouraged by this diligent woman who rises while it’s still dark and never puts out her lamp at night. I’m exhausted just thinking about everything she undertakes–running an entire household, cooking, sewing, managing money, raising children, dishing out wisdom, farming, charity work, buying property, operating a business, and apparently maintaining toned arms (see verse 17…hehe). My goodness, even Martha Stewart couldn’t keep up with the Proverbs 31 woman.
Rather, look at this passage as inspiration. The purpose of Proverbs 31 is not to outline the exact woman we should be–in this case, a perfect, domestic goddess (a standard that we all will inevitably fall short of). Rather, these verses describe the type of woman we should be–one who fears the Lord.
The entire description is quite beautiful, and I recommend digging deeper into Proverbs 31, but for today’s purposes, I want to zero in on Proverbs 31:20 -21, 27:
“She extends her hand to the poor,
And she stretches out her hands to the needy.
She is not afraid of the snow for her household,
For all her household are clothed with scarlet. …
…She looks well to the ways of her household,
And does not eat the bread of idleness.”
God calls us to help those in need, while also looking out for our own families. Decluttering has the potential to fulfill both of these commands. Use these verses in Proverbs to propel you through The Great Purge, all the while remembering your desire to bless your family with a tidy home and your desire to bless others with possessions you no longer need.
So, at this point in step two, we have
- Emptied all cabinets/drawers
- Performed a thorough kitchen purge
- Sorted and categorized the items that made the cut
We’ll conclude The Great Purge by wiping down all storage surfaces (interior and exterior) with a damp cloth. Use a magic eraser to remove stubborn stains and scuffs. Come on, make your kitchen shine like the top of the Chrysler Building. (My kids have been watching Annie on repeat this summer.)
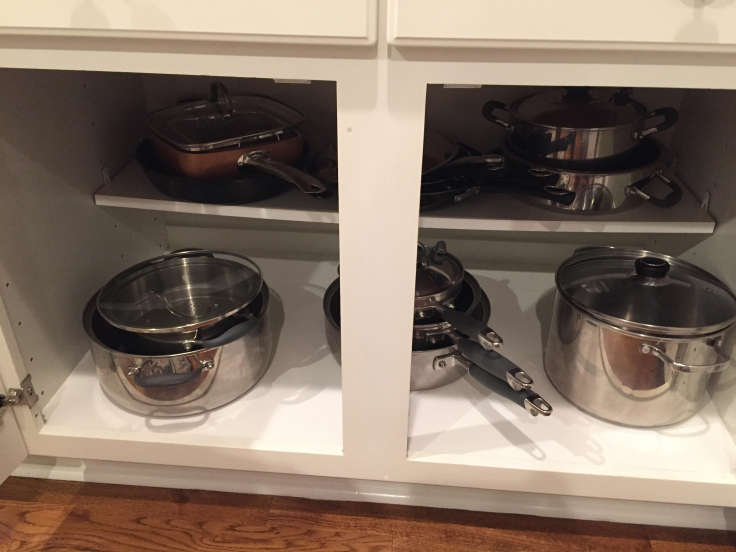
As mentioned in a previous post, I covered most of my cabinet bottoms with white contact paper. This would be a great time to employ this trick in your own cabinets if you have any scratched surfaces to conceal. Here’s another look at mine:
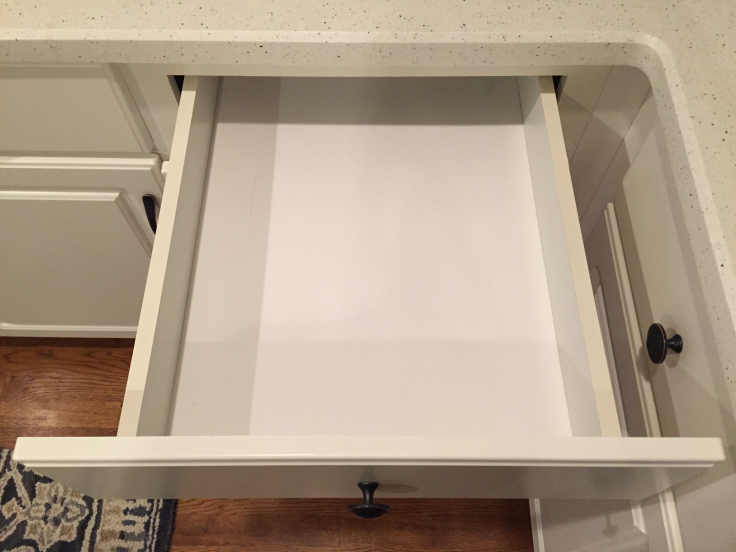
Another option: non-slip shelf liners. These are particularly helpful in drawers to prevent your items from sliding around. I placed one beneath my utensil organizer to keep it in place:

If any of your cabinets/drawers stink and there’s no noticeable source (such as mold or mildew, which can be eradicated with some bleach and water in a spray bottle), soak a cotton ball in an essential oil or vanilla extract. Place the cotton ball in the back of the cabinet to get rid of the smell.
Now, you have empty, clean, and deodorized cabinets just waiting to be filled. And that’s exactly what we’ll do next time!
Check out the next step in The Kitchen Overhaul Series: Fluff Your Stuff (And Other Tricks to Control Kitchen Clutter)


I had my koozies hidden on the top of a kitchen shelf. How did you find them? I will have to start collecting again.
LikeLike
Hahahaha I love you
LikeLike
hopefully people can reuse their items or give to someone crafty that can upcycle them!!
LikeLike
Definitely! I’m all for a potential craft project! 😀
LikeLiked by 1 person
I don’t know if you take questions here, but if so, is there a trick to trimming contact paper to fit neatly? Apparently, I can’t cut a straight line, nor is there a 90 degree corner in my entire house! Your’s look great, but I gave up after one cabinet. Suggestions?
LikeLike
Great question! The contact paper I used had guide lines printed on the back. I also found it helpful to cut it down a bit (not to the exact measurements, but enough to fit with some excess) and place it in the space. I pressed the paper down and created creases on the edges where the extra hangs off. Then, I cut along the crease line, which left me with a piece that’s the precise size of the cabinet or drawer. I hope this makes sense!
LikeLike